
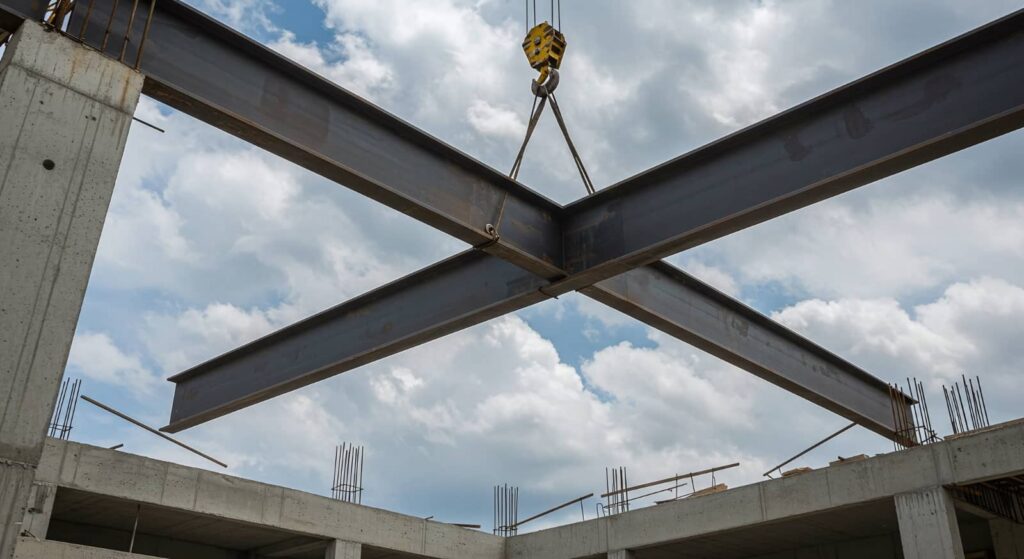
Steel beams rising on a bare slab can look solid before a single bolt is tight. When you start your first DIY steel building kit, you need a plan that covers the foundation, bracing, torque specs, permits, layout, panel order, weather protection, and when to bring in help. Miss one of these steps, and you can end up with costly delays or a frame that won’t perform as intended.
Key Takeaways
- Verify permits, setbacks, and utility clearances before starting to avoid delays and fines.
- Build on a level, properly sized foundation with accurate slab dimensions and anchor locations.
- Use bracing and anchoring correctly to keep frames plumb and panels aligned.
- Follow torque specifications and tighten fasteners in sequence to prevent loose connections.
- Protect materials from weather and check each step against plans to catch errors early.
Common Causes of DIY Steel Building Kit Mistakes
DIY steel building kit mistakes usually start with a few preventable missteps, and you can avoid most of them by paying close attention to the basics.
When you review diy steel building kit mistakes to avoid, you’ll see the same patterns again and again: skipped bracing, ignored torque specs, and permit oversights.
You might rush assembly to keep pace with your crew, but that often creates gaps, loose connections, and rework. If you don’t confirm each step against the plans, small errors can spread fast.
You’ll also build more confidence when you slow down, verify hardware, and keep your site organized. That approach helps you stay aligned with other builders who value doing it right the first time.
Get the DIY Steel Building Kit Foundation Right First
Before you set any steel frame, you need a level, properly sized foundation that matches the kit plans and local soil conditions.
You’ll save time, money, and stress when you verify slab dimensions, anchor locations, and concrete thickness before any pour.
Work from the manufacturer’s drawings, then confirm measurements with your installer or inspector so your crew stays aligned.
If your site has soft, wet, or uneven ground, address it early with proper grading and compaction.
Let the concrete cure fully, and check for flatness across the entire pad.
A solid base keeps your build square, helps every panel fit cleanly, and gives you confidence that you’re building it right with the rest of the DIY community.
Avoid Skipping Bracing and Anchors
Once the foundation is set, you need to brace the frame and secure every anchor exactly as the plans require. You’re not just assembling steel; you’re joining a crew that builds straight, safe structures. Skipping these steps can leave the frame loose, leaning, or vulnerable when wind hits.
Keep your work organized:
- Check each brace location before lifting panels.
- Set every anchor where the drawings show.
- Confirm the frame stays plumb as you go.
- Revisit each connection after the structure stands.
When you follow the layout carefully, you protect your build and your confidence.
Tight planning here helps you feel like you belong on site, because your kit goes together the right way, the first time.
Follow the Correct Torque Specs
You need to follow the correct torque specs because they keep your steel building’s connections tight without overloading bolts or distorting parts.
Use calibrated tools so you can apply consistent force, and don’t guess based on feel alone.
Recheck bolt tightness after assembly, since settling and load shifts can loosen hardware over time.
Why Torque Matters
Torque matters because every bolt in a steel building kit depends on the right clamping force to keep the structure tight, aligned, and secure.
When you follow the correct torque specs, you help the frame act like one solid team instead of loose parts fighting each other. That gives you confidence on build day and helps your project feel like it belongs in the neighborhood.
- Bolts stay seated under load.
- Panels meet cleanly at joints.
- Gaps don’t spread with wind.
- Your build keeps its intended shape.
You don’t need guesswork; you need consistency. Check each connection as you go, and match the manufacturer’s numbers closely.
That simple habit protects your effort, your time, and the finished building.
Use Calibrated Tools
A calibrated torque wrench keeps your steel building kit on spec, so every bolt gets the same reliable clamping force. You’ll fit in with builders who measure twice and tighten once, because they trust the numbers, not guesswork.
Before you start, check that your wrench has a current calibration sticker and that you’ve set the correct units, usually foot-pounds or Newton-meters. Use the chart from your kit, and match each fastener size to its required torque.
Tighten in a steady pattern, and stop when the tool clicks or signals. Don’t swap in worn sockets or homemade extensions, since they can distort readings.
When you use calibrated tools, you protect the frame, reduce stress on connections, and build with confidence from the first panel.
Recheck Bolt Tightness
After the frame settles, recheck every critical bolt so nothing loosens during assembly or under load. You’re building with the crew, so treat torque like a shared standard: follow the chart, not guesswork.
Tighten each fastener in sequence, then verify it again after the first day’s shifts and before closing panels.
- Inspect corner connections for even seating.
- Match each bolt to the maker’s torque spec.
- Mark finished heads so you won’t miss one.
- Recheck after wind, rain, or temperature changes.
If a bolt turns easily, stop and correct the joint. Don’t crush washers or distort steel.
This simple habit keeps your build aligned, safe, and solid, and it helps your team finish with confidence.
Check Local Permit Rules Before You Build
Before you order materials or pour a foundation, check your local permit rules so you don’t run into delays, fines, or an expensive redo.
Call your city or county building office and ask what permits your steel kit needs. Some areas require drawings, wind and snow load data, setback checks, or engineer stamps.
Save every approval, fee receipt, and inspection notice in one folder so you can show them fast if questions come up.
If your property sits in an HOA, review its rules too, because community standards can add another layer.
When you understand the process early, you stay in step with the rules, avoid surprise stoppages, and build with confidence alongside other careful owners who’ve done it right.
Plan the Site Layout and Measurements
With permits in hand, you can map your steel building kit site so every dimension matches the plan and the install goes smoothly. Start by staking the corners, then square the footprint and confirm diagonal measurements.
Mark setbacks, door swings, and utility clearances so nothing feels cramped later. Keep your tape, level, string line, and spray paint close as you work.
- Picture four bright stakes defining your build.
- Picture taut string tracing crisp, straight edges.
- Picture a level pad under your boots.
- Picture a clear path for access and storage.
Measure twice, record each number, and compare it with your drawings. When your layout is clean and shared with your crew, you’ll feel ready and connected to the process.
Assemble the Panels in the Right Order
You should map out the panel order before you start so each piece goes where it belongs without forcing alignment.
Start at the corners and work toward the center to keep the frame square and stable as you go.
Tighten fasteners in a set sequence, and don’t skip steps that could throw off fit or torque.
Panel Order Planning
A clear panel order keeps the whole steel building assembly moving smoothly, especially when you’re working from a kit with tight connections and repeat steps. Before you lift a single sheet, lay every panel out and match each piece to the manual. You’ll save time, avoid confusion, and keep your crew in sync.
Follow a simple sequence:
- Sort panels by label and length.
- Stage fasteners, sealant, and tools nearby.
- Stack parts in the order you’ll install them.
- Mark each completed run so nobody backtracks.
When you plan ahead, you build confidence and stay connected to the team effort. That kind of order helps you feel prepared, reduces mistakes, and keeps the job site calm, focused, and on track.
Corner-To-Center Assembly
Start at the corners and work toward the center so each panel locks into place without forcing the fit. You’ll build a straighter frame when you anchor the first corner panels, confirm alignment, and let each adjacent panel meet the last one naturally.
Keep your crew moving in one direction so everyone knows the next connection point and can spot any mismatch early. Check that seams stay even, edges sit flush, and openings remain square as you progress.
If a panel resists, stop and recheck the previous fit instead of pushing harder. This calm, orderly rhythm helps you avoid the kind of small build errors that can spread across the whole structure. You’re not just assembling steel; you’re building confidence with every clean connection.
Fastener Sequence Control
Once the panels sit square, lock in the fastener sequence before you rush ahead. You’ll build cleaner lines and avoid twisting the frame when you follow the same order every time.
Start at one corner, then move in a controlled path, tightening only enough to hold each sheet. Picture the rhythm:
- Set the first panel.
- Add the next panel with matching holes.
- Snug adjacent fasteners in sequence.
- Return for final torque after alignment checks.
That order helps you catch gaps, protect sealant, and keep the roof and walls true. It also keeps you in the group of builders who finish straight, tight, and proud.
Don’t chase speed; chase control, and your kit will reward you.
Protect the Build Against Weather and Moisture
Even a well-built steel kit can run into trouble if you don’t protect it from water and weather during assembly. Keep panels, fasteners, and sealants under cover until you need them, and work from a dry staging area so nothing sits in puddles or mud.
Check forecasts before you start, and pause when rain, snow, or heavy wind can wet joints or blow debris into seams. Wipe condensation and standing water from framing, because trapped moisture can stain surfaces and weaken seals.
Install flashing, closures, and weatherstripping as you go, not after the shell’s closed. Store cut edges and hardware in sealed containers.
When you stay ahead of moisture, your build stays cleaner, safer, and more in step with the crew mindset.
Know When to Call a Pro
Some DIY steel kit tasks are straightforward, but a few jobs are better left to a pro. You can handle panel layout, sealant, and trim, yet call help when the work affects safety, code, or long-term strength. A pro can spot issues before they become costly fixes and help you feel confident you’re building it right.
- Foundation checks: uneven slabs and anchor errors can derail the whole frame.
- Structural bracing: if you’re unsure about load paths, get expert eyes.
- Torque verification: overtightened or loose fasteners can weaken connections.
- Permit review: if drawings or inspections confuse you, bring in a pro.
You’re not backing down; you’re protecting your build, your crew, and your place in a solid community of builders.
Frequently Asked Questions
What Tools Make First-Time Steel Building Assembly Easier?
You’ll assemble faster with an impact wrench, torque wrench, laser level, clamps, a magnetic drill, step ladder, tape measure, and chalk line. Keep gloves and pry bars handy so you can fit pieces safely and confidently.
How Do I Tell if My Kit Parts Are Missing?
Check your packing list, then lay out every beam, bolt, panel, and bracket. You’ll spot shortages by comparing labels, counts, and sizes. If anything’s off, photograph it and call your supplier right away.
What Safety Gear Should I Wear During Construction?
You should wear a hard hat, safety glasses, steel-toe boots, cut-resistant gloves, long sleeves, and hearing protection. Add a high-visibility vest and fall protection when needed, so you stay safe and part of the crew.
How Long Should a DIY Steel Building Project Take?
You’ll usually need two to eight weeks; a two-person crew can finish a small garage in about ten days. For example, if you rush foundation prep, you’ll delay everything and lose confidence fast.
Can I Build During Winter or Rainy Weather?
You can, but you shouldn’t rush it. Winter and rain can slow you down, weaken footing prep, and complicate bracing and torque checks. Use dry days, protect materials, and verify permits before you start.
Final Thoughts
By planning carefully, checking your foundation, following torque specs, and securing the right permits, you set yourself up for a smoother DIY steel building kit build. Don’t skip bracing, rush panel alignment, or ignore weather protection—why invite avoidable repairs later? Stay organized, measure twice, and communicate clearly with your crew at every step. If the project ever feels beyond your skill level, call a pro before small mistakes turn into costly structural problems.